Ice tea vs. IoT: LoRa
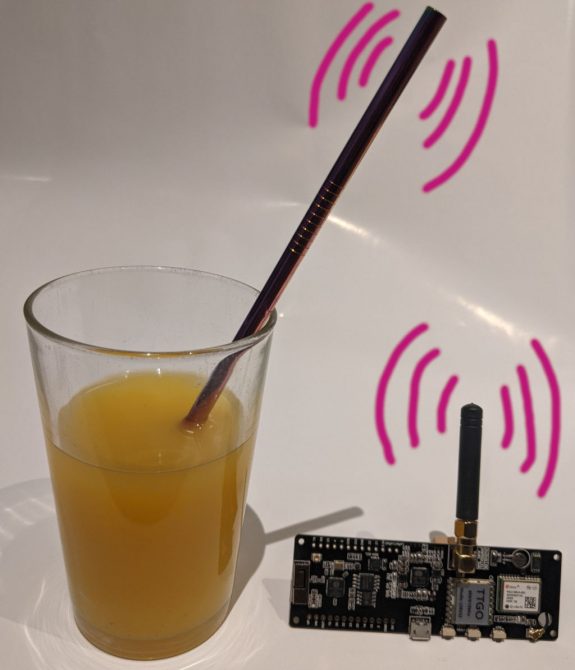
Ice tea or IoT -- what do you prefer?
When I ordered the TTGO T-BEAM, I liked that it combines LoRa and GPS and it even supports a 18650 battery (18650 cells with internal protection circuit are somewhat longer, but still fit -- although very tight) including a good charging chip to charge the Li-Ion cell -- not LiFePO -- via USB (USB can also be used to power the device without using the battery holder). The ublox NEO-6M GPS chip has a dedicated backup (super)capacitor (looks like a coin cell battery) to buffer the GPS chips' RTC and almanach, but probably only for a few minutes.
Just when the delivery arrived, I found video #182 from Andreas Spiess, reporting that older TTGO designs had some design flaws: the 868-915 MHz versions have passive RF components (coils and capacitors to tune the frequency) that are not specific enough for the 868 MHz that we use here in Europe (some even fixed that) and the LoRa antenna could be better (all the videos by Andreas Spiess can only be recommended, including the LoRa videos). I was then happy to see that in newer designs, including the T-TBEAM, the WiFi antenna is placed better and in fact, the T-TBEAM even has a connector for an external WiFi antenna (but would need some minor soldering); also the LoRa and GPS part is now shielded by a metal cage. I was relieved to find the more recent video #224 measuring the T-BEAM and other newer boards, judging the newer designs to be OK.
I already expected that a better GPS antenna might be needed (and the tiny original one is only fixed with some adhesive tape that does not hold very well).
In summary, the T-BEAM seems not to be that bad (even the passive component that are too generic for 868 MHz turn out to be OK), but many reports indicate that the power consumption is rather high (that whole thread is anyway a worthwhile reading). 10 mA seem to be the minimum possible even during deep sleep. Concerning the power consumption, there seems to be an issue with deep-sleep. There is also a video on what is possible with ESP32 and deep sleep. Update: Meanwhile a student did as part of his M.Sc. thesis power measurements with the TTGO Lora32 (i.e not the T-BEAM) and the lack of going to deep sleep is confirmed there as well.
Some people complained that they got only 900 m instead of kilometers of range. The comments for video #224 mention that an older library had a flaw concerning the transmit power which did lead in that video to a low transmission power; according to the comments, this has at least been fixed now in the LoRa library by Sandeep Mistry that can be found in the Arduino Library Manager. Update: Again in our M.Sc. thesis, we achieved 15.5 km range.
A display can also be connected, but to reduce power consumption, it might be better to make it removable by using a female header.
Andreas Spiess recommends in his videos WeMos D1 ESP8266 and a Hope RFM95W LoRa module for which even a PCB is available (recommending as well WeMos D1 as ESP2866 board) -- it however needs SMD soldering. Nexus by Ideetron has elsewhere been mentioned as low power solution, but has only a small user base and thus lacks information -- and GPS can anyway be expected to be the big power consumer.
Concerning the LoRaWAN libraries, MCCI seems to be the only one that is actively maintained and communication with The Things Network needs to save some state information (for joining via OTAA) which MCCI stores in RAM that is not buffered in deep-sleep of ESPs. So for using OTAA, MCUs that do buffer the RAM (i.e. newer ATMEL MCU like in newer Arduino) would be preferable, e.g. Atmega 1284p together with a watchdog for waking up periodically has extremely low power consumption (0.5 μA in deep sleep) but lacks GPS. Other low power designs provide even triple GNSS and acceleration-detection watchdog. In addition to the ublox GNSS chips, there are some approaches that claim to reach lower power consumption by off-loading GNSS solver processing via LoRa to some external clouds server infrastructure or doing extreme A-GPS data compression for LoRa transmission from a cloud.
The really cool thing is that even satellites serve as LoRa repeaters (if there is a clear line of sight, LoRa has a theoretical range of 1300 kilometers, thus easily reaching low earth orbit satellites). By this, sensors that have no LoRa connection to a station on the Earth can still reach a LoRa repeater in the sky and forward their messages back to Earth. (But you need an amateur radio license for the used 70 cm frequency band: 435 MHz / 436 MHz up- and downlink.)
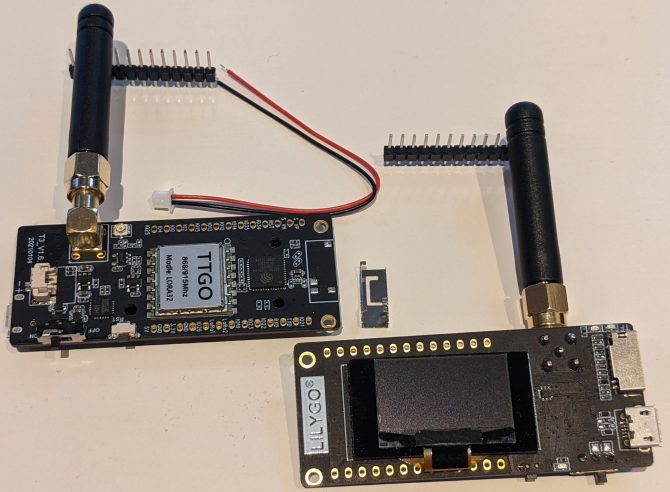
I also got two TTGO Lora32 v1.6.1 that have LoRa, a card reader, and a tiny display on the back, but not GPS. On one of them, the WiFi antenna was already loose when unpacking (see the 3D sheet metal in the photo below). Need to check how easy it is to solder it back again (or whether rather a hot air rework station is needed) or use it as opportunity to add an SMA/UFL connector? (There is also an UFL antenna connector, but since it as close to the LoRa SMA antenna connector, I guess the UFL connector is as well for LoRa -- after desoldering some 0 Ohm SMD resistor and creating a soldering bring/reusing that 0 Ohm SMD resistor.)
Even though TTGO Lora32 comes with a cable to connect a battery, TTGO Lora32 version v1.6 had a fire issue where the battery explodes. I checked the schematics: My v1.6.1 has this issue fixed and the TTGO T-BEAM uses anyway a different charging IC that is claimed to be pretty good.
Also, double check the pinout: some complain that the pinout provided by LilyGO can be wrong.
Depending on the applications, I might use LoRa for device-to-device commnication, or LoRaWAN via The ThingsNetwork that has a coverage in Reykjavík, but fair use limits, e.g. 10 messages to the device per day, which could be avoided by setting-up my private LoRaWAN using ChirpStack.
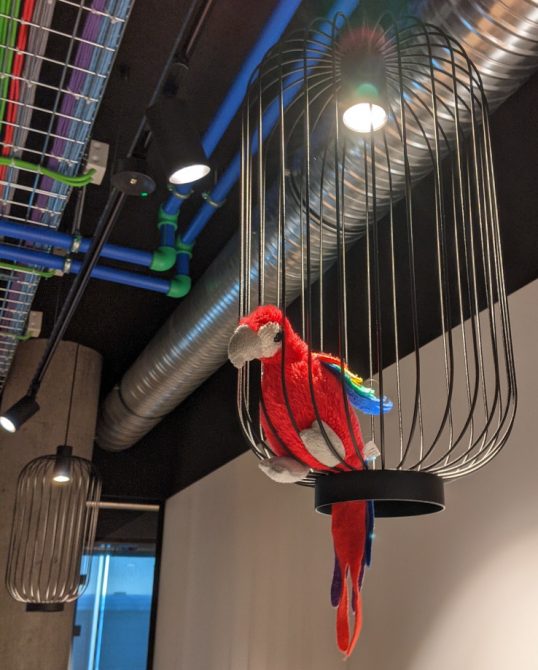
Talking about lora (a popular name for parrots as the Spanish word for parrot is loro): did I mentioned already that the Computer Science department has moved and already a new visitor...?
